

Time for another mashup ’round here! This one is a love child of Love Sewing magazine’s Simple Sew Loretta dress (issue 20) and By Hand London’s Charlotte skirt. Coming up with a name for these frankenpatterns is often the trickiest part but I don’t think this one is too bad. What do you reckon? Featuring some beautiful fabric from Fabric Godmother and zero finishing, I’m very pleased with a comfortable dress! And wore it to both my work Christmas luncheon and for the New Years’ Eve party I went to.
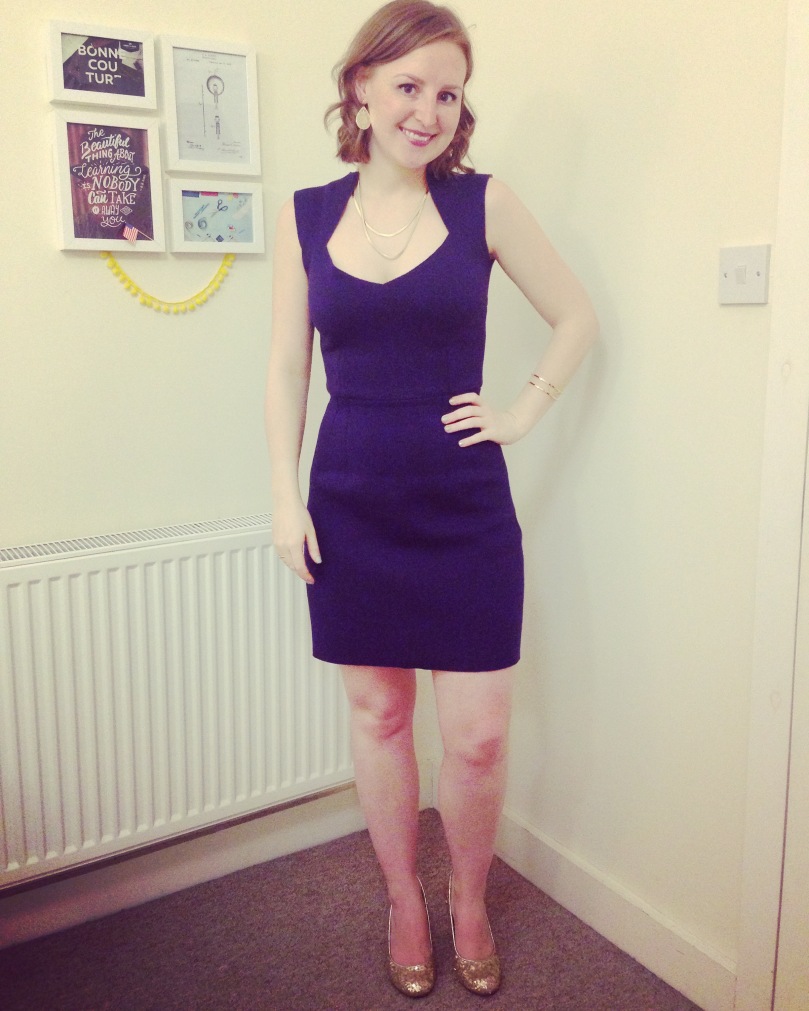
Truth be told, I didn’t actually wear these charity shop find, gold, sequin shoes for either event because they’re apparently not designed to have feet in them (!) but they’re so damn pretty they deserved to be worn for this ‘photoshoot’ (that sounds wrong?!) with my other gold accessories.
I initially chose the box-pleated skirt from By Hand London’s Zeena dress to pair with the bodice but the thickness of this reversible scuba jersey meant the amount of fabric around my stomach was not at all flattering. I resembled what I imagine a Ribena berry going to a ball might look like. So, I looked instead for a straight or pencil skirt. That’s when I remembered I’d already toiled the Charlotte skirt. And Charloretta was born.
I added a 4″ slit in the back of the skirt although I now realise it wasn’t really necessary as the skirt is roomy enough in that area. Should I want to get rid of the slit, it’s straightforward to sew that opening closed. Normally I’d opt for a vent but as I needed to cut my Charlotte skirt pieces out of the Zeena fabric pieces I’d already cut, there wasn’t room. And again the thickness of the fabric might be a problem with a vent.
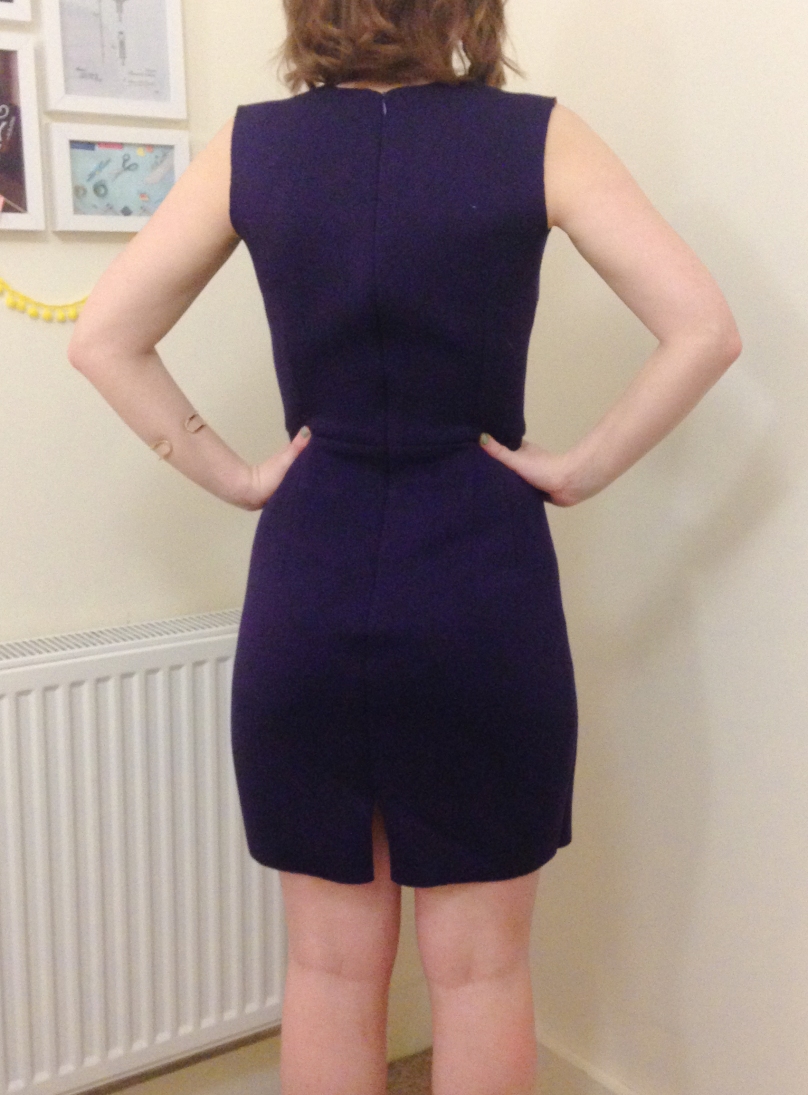
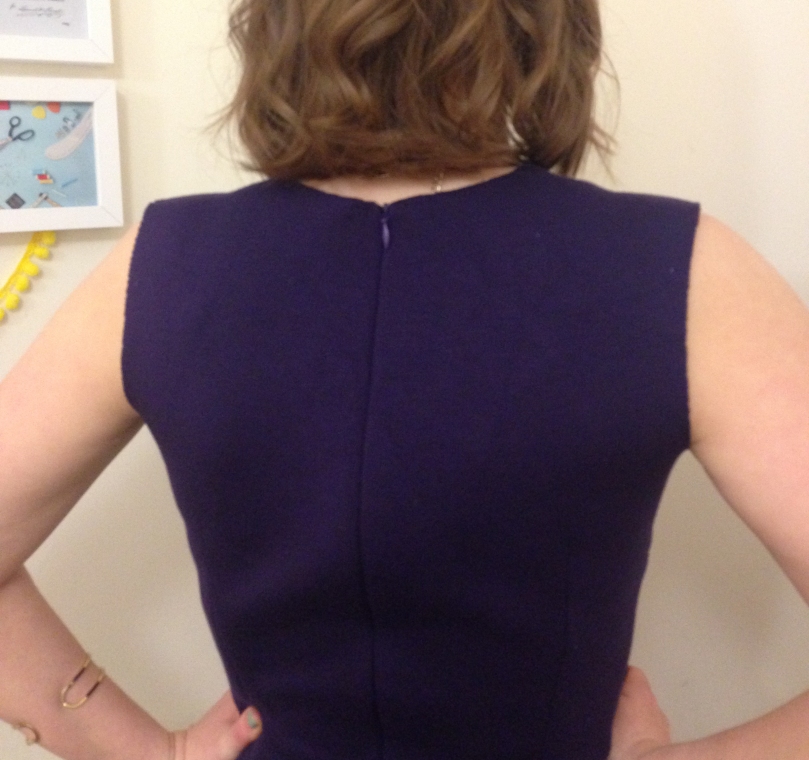
Those eagle-eyed amongst you might be able to see that the back zipper does bubble a little (although I think I am exaggerating it with my posture in these photos) which is because of my bra and because it is a little loose in this area. But by this point, I’d already unpicked the back zipper twice — and it was bloomin’ difficult because of the thick, spongeyness of the fabric — so I was frankly, unwilling to do it a third time. Plus, it’s a small issue and behind me so I cannot see it mwahaha!
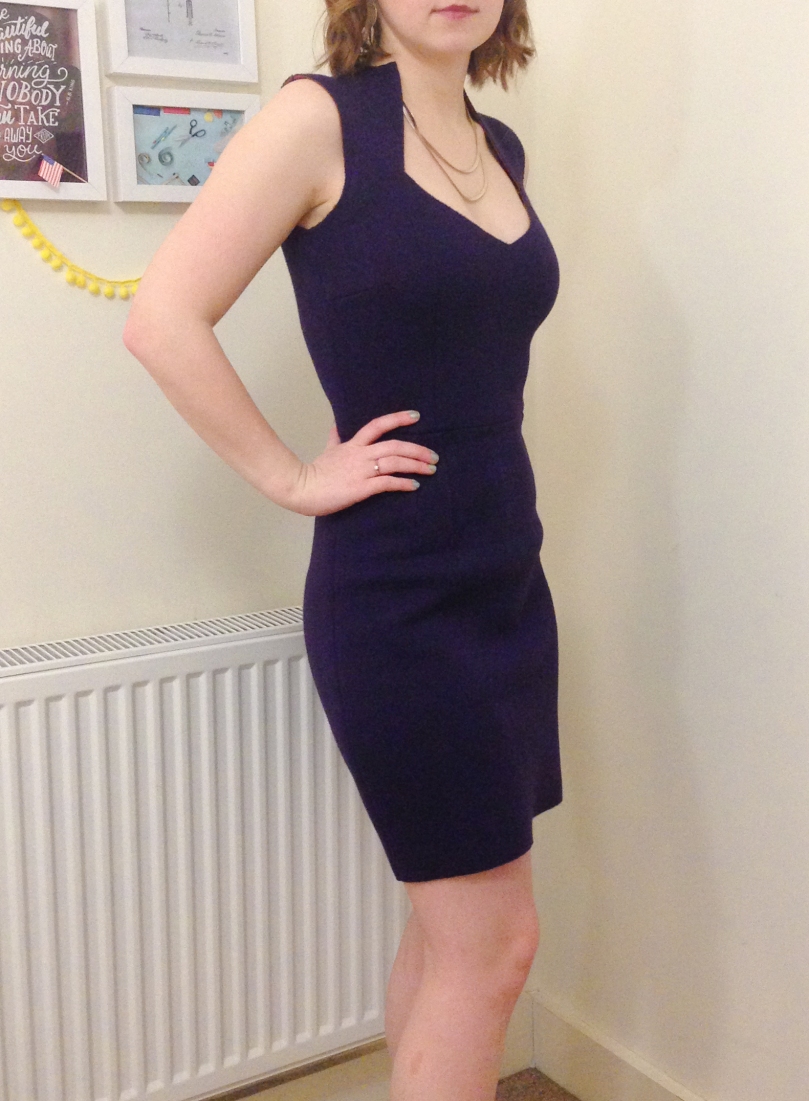
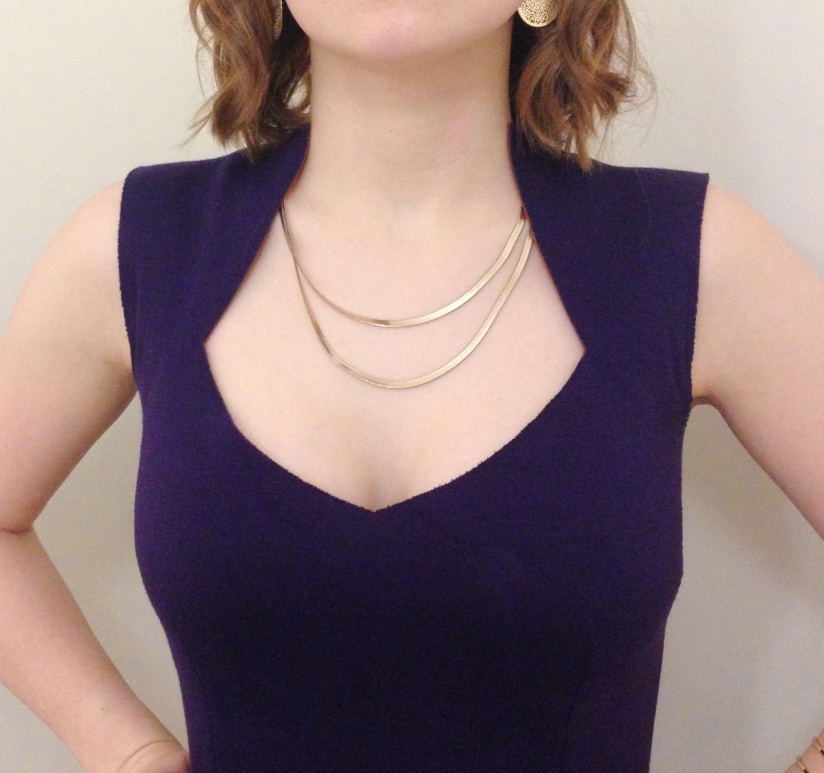
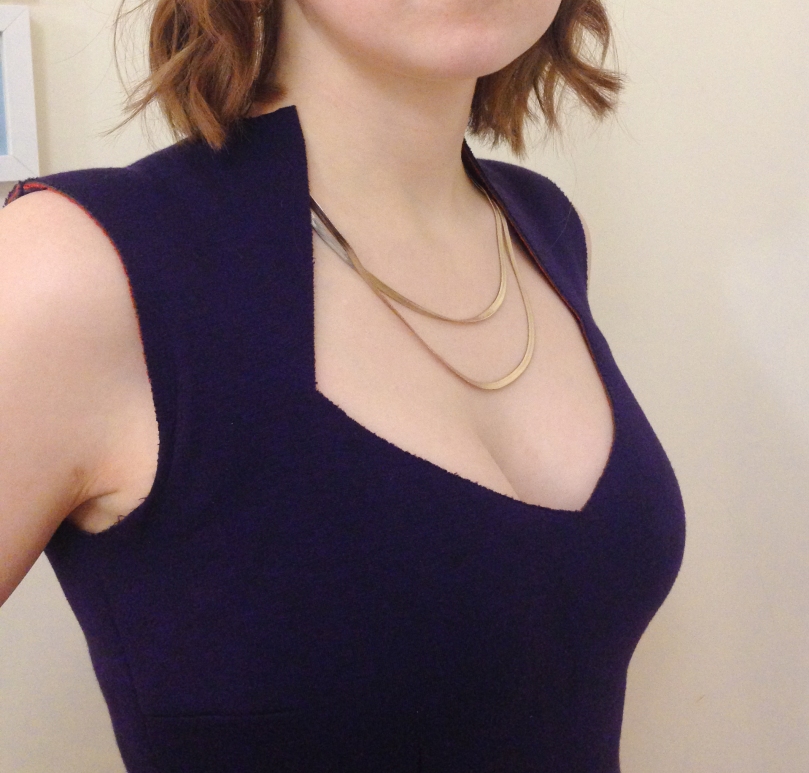
The jewel neckline is the feature of this dress and it’s for that reason I’m going to have to apologise for how booby these photos are about to become! If I’d made the bodice as it was designed to be made i.e. with a facing, the associated 1.5cm seam allowance would’ve made it even more low cut and I expect it would’ve shown my bra straps either side so if making yourself, do take that into account. Best bet is to make a toile. (And choose bias binding or a full lining over facings anyway!)
 |
 |
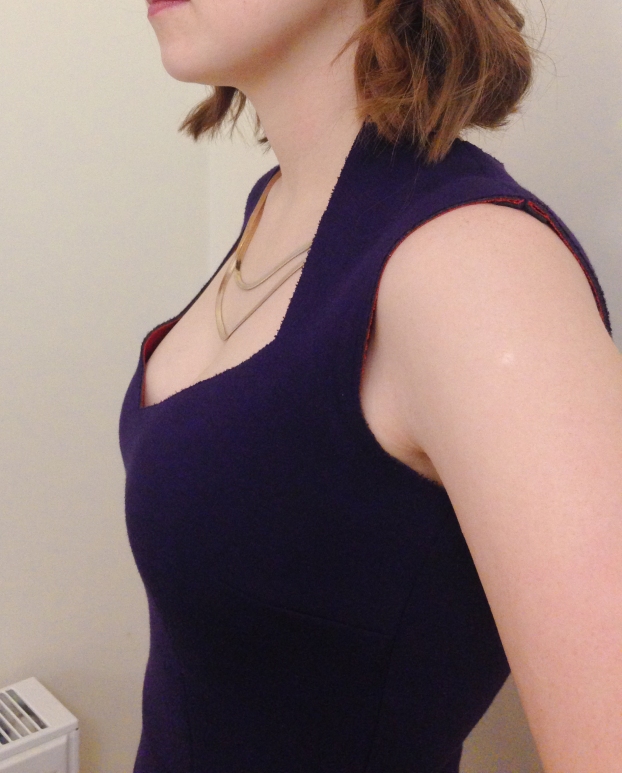 |
In each of these photos, you can see a small hint of the orange jersey inside. Also, hopefully it illustrates the lack of finishing: that, right there, is the raw, cut edge of the fabric. I LOVED not having to finish a single edge or seam! I did take my time when cutting and thankfully, with this fabric there is hardly any fraying.
Fabric
Deep purple and burnt orange reversible viscose from Fabric Godmother £18/metre. Also available in grey and navy. And I really must say, the service from FG was brilliant. I now have some scraps left over but am unsure what to do with them. If anyone has any ideas, I’d love to hear them.
Sizing and cutting
- Loretta bodice: I went for the size 8 (the smallest) as the fabric has plenty of stretch and I wanted it to be close fitting. I followed the tutorial in Love Sewing issue 20 to create the bodice from the dress. Basically, draw a line through the middle of the darts and add a seam allowance to the bottom (which I promptly forgot to do first time around).
- Charlotte skirt: With the toile, I went for a US 6/UK 10. The fit was good for a fabric with stretch but for something with less or no stretch, I’d need to add more to the hips. In order to walk, you’d want to add a slit (By Hand London tutorial) or draft a vent (Clipped Curves tutorial).
Fitting and alterations
- Loretta bodice: I took a good couple of inches out of the back seam from the neck to the middle of my back (roughly where my bra sits), and it was a similar story for the side seams. Really, if there’d been a size 6, I would’ve cut that.
- Charlotte skirt: To match the bodice, I took a good couple of inches out of the side seams and graded to the hip area. The skirt pieces were ~19 inches (49cm) long. This was largely because I was using the Zeena dress skirt pieces I’d already cut which are this length but I think the length is actually perfect.
Pattern instructions
- Loretta dress: the tutorial for creating the bodice was very good. However, I’m going to be completely honest and say all Simple Sew pattern instructions I’ve used are poor and unclear. In addition, often seams don’t match up: in this case the shoulder seams of the front and back bodice were different lengths! I appreciate these are free patterns but as they’re designed for beginners and to be ‘simple’ to sew, they really rely on you disregarding their instructions altogether and using your own knowledge, not something a beginner can necessarily do! Also, I’d love them to do away with their acronym RST rather than right sides together. OK, rant over.
- Charlotte skirt: The style of the instructions in the printed pattern I have is slightly different to the others I have – perhaps because this was one of their earlier patterns? – but as with all BHL pattern instructions, still very good. It is a simple sew with four waist darts and then just sewing the side and back seams together so I didn’t have to refer to the instructions really.
Finishing
None. Zero. Zilch. Nada! The Loretta dress pattern instructions has you sew it with facings so without the need to finish the edge, I obviously just did away with those. But, if you were making it with a fabric that you would have to finish, I would recommend either lining the bodice (depending on your type of fabric) or using bias binding. But that’s just because I basically hate facings in a bodice. As I said earlier, take into account there will be a further 1.5cm taken off the neckline edge so make a toile first to check your modesty will remain intact.
Verdict
Pretty much in love with Charloretta. The only thing I’m sad about is not making more of the reversibility of the fabric; it would’ve been great to showcase the orange more but I couldn’t think of a suitable pattern really. As always, any ideas are very welcome! So yes, in theory, I’d make her again. I say in theory because I remake patterns less and less these days as I’m distracted by the excitement of trying new patterns and techniques. But I do plan to make another Charlotte skirt, maybe in the remaining pixel roses stretch cotton from my Kim and Zeena frankendress.
Working on…
Well, this is embarrassing. How on earth am I still working on my Sewaholic Minoru Jacket?! I don’t know but I am. But I start dressmaking classes again this afternoon and am determined the make real progress and at least finish her by the end of the 10 week class, if not before! Next week I’m off to San Diego for work but will be hoping to shoehorn a fabric shop visit or two. So if anyone has any recommendations, do let me know!
What’s everyone else sewing?!
Disclaimer: This is not a sponsored post. I purchased all items mentioned myself. All views expressed are my own.

Absolutely gorgeous! I’m just the same with the Simple Sew patterns, also I’ve found that the list of notions is often incomplete or sketchy (“zip” rather than, say, “22in zip”!) It really annoys me!
I love your frankenpatterns, I never have the courage to try this!
LikeLike
Thanks Becca! I don’t think I shall sew any more Simple Sew patterns really; they just take far more work than they should. Oh yeah, I remember that about the zip now! These days, for dresses I tend to just always buy a 22″ zip, that way I know my zip will never be too short and I can just cut it down. Maybe Love Sewing are going to stick with these Threadcount patterns? It’s a shame the most recent ones are too big for me as they’re nice but like you, I’m not short of patterns to choose from at the moment and it’s definitely good for plus sizes!
Oh you should definitely have the courage! As long as the bodice and skirt waist measurements are the same, everything should line up. And you should read this post from Heather Lou if you’re still in doubt: http://closetcasefiles.com/just-make-it-already-how-to-boost-your-sewing-confidance/
p.s. Hope it’s OK to call you Becca. : )
LikeLike
Of course it is! I feel very formal with Rebecca!
I did read that post and liked it, I think it’s a case of managing my own expectations: spare time to sew with work and kids is precious so I get annoyed if things don’t work. I need to get more into that mindset of it being a learning experience as much as anything.
I think the next issue pattern is Simple Sew so maybe they’re alternating more? I really enjoyed the articles this time around, feels much less superficial which has been my criticism in the past. It would have been nice to have the option to get hold of a smaller pattern, they quite often do that with the bigger siZes on Sew magazine, definitely only fair to sometimes do plus size ones. I don’t know why I’m bothered give the main reason I’ve nothing on the go at the minute is total inability to select from the available options!!
LikeLike
Ha! Yes, the articles in this issue were quite good I thought. So what are you torn between? Maybe opt for something that might fill a gap in your wardrobe? But you make a good point that when time is limited, you want something that is going to work out.
LikeLike
Currently top of the list are a Grainline Moss skirt in black needlecord, an Emery dress in either fox print cotton or Liberty blotchy stuff, a Grainline Linden in deep pink or a Tilly Orla in a different Liberty blotchy print! So not an extensive list at all 😬
LikeLike
I think you did an amazing job on that zip – I’ve not sewn with scuba yet but imagine it is tricky to get a neat finish. The dress looks great on you – shame about the sparkly shoes! And you made me laugh on my first day back in the office with the reference to the Ribena berry going to a ball so thank you for that!
LikeLike
Thanks a lot Jane! I actually thought sewing a zip into this fabric was going to be difficult as well but was pretty easy! Ha glad you liked my Ribena quip; my face just dropped when I caught a glimpse of myself in the mirror so the original skirt just had to go! Hope the rest of your first week back in the office goes smoothly!
LikeLike
It already seems like I’ve never been away!
LikeLiked by 1 person
This Frankenpattern was meant to be! It looks amazing!! I love that it is so elegant but wearable at the same time. I’ve never sewn with scuba before but looking at your dress it’s so tempting to go and buy some!! The fabric goes so well with the neckline. The zip insertion looks brilliant to me. A gorgeous make 🙂
LikeLike
Thanks Megan! I’m not entirely sure whether this scuba is the same as all others but this was easy to sew with and have heard the same from others who’ve sewn with other scuba so give it a whirl if you see something you like! Sorry for my delayed response. *blush* Love your little profile picture by the way; that dress is divine!
LikeLiked by 1 person
Ooh very nice! I’ve never used scuba fabric before. This shape of dress is perfect for such a thick and sturdy fabric!
LikeLike
Thanks Louise! Yeah, I was pretty pleased with the final result. : )
LikeLiked by 1 person
[…] 18 | Ooh and another blogged make with this Charloretta dress: a mash-up of Love Sewing magazine’s Simple Sew Loretta dress (issue 20) and By Hand […]
LikeLike